
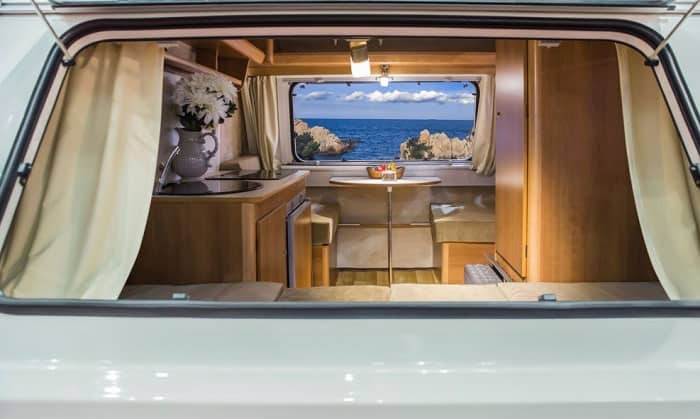
Imagine waking up one morning while you are still in your RV only to find out that water leaked inside from last night’s rain. Now your vehicle requires an RV wallpaper replacement because of water damage. But how to match RV wallpaper?
The first thing you need to do is to consult your RV’s manufacturer to find a matching wallpaper. If the company cannot find the exact model of the old wallpaper, you might need to install new wallpapers in your camper or travel trailer.
Fret not because this article will guide you through the correct steps on how to match your RV’s wallpaper properly.
Table of Contents
What You’ll Need
Aside from the same style of wallpaper, you also need to gather a few pieces of equipment to help you in the removal and installation of the new interior decoration. The items that you will need include the following:
- Paint scraper: It can be easy to peel the adhesive off of the damaged wallpapers in your RV. But doing so will leave an unsightly residue that is also difficult to remove and ruin the vehicle’s paint job.
- Instead of using your bare hand, use an appropriate paint scraper to remove the old or damaged wallpaper.
- Take note that different types of paint scrapers exist. Some scrapers are ideal for removing coarse work. On the other hand, some models tend to work better in removing adhesive and paint from large surfaces.
- Adhesive remover: If a paint scraper is not enough to remove the sticky leftovers left behind by the ruined wallpapers, adhesive removers can help you out in this matter.
Different adhesive removing solutions exist on the market. You can find options like wipes and liquid-based solutions. Some removers also come in spray forms, making them fairly convenient answers to this concern.
Make sure that the product you choose is effective in removing wallpaper glue.
Aside from the items mentioned above, you also need a level, tape measure, pencil, and a pair of scissors or a sharp cutter to install the new wallpaper. You may also need a clean cloth or sponge to eliminate the residue left by the adhesive remover.
Step-by-Step Instructions
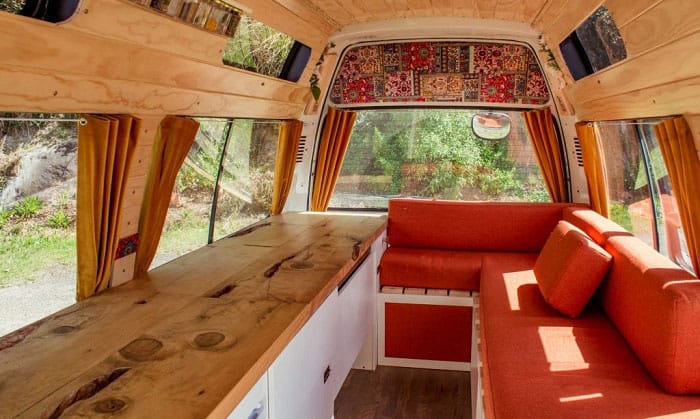
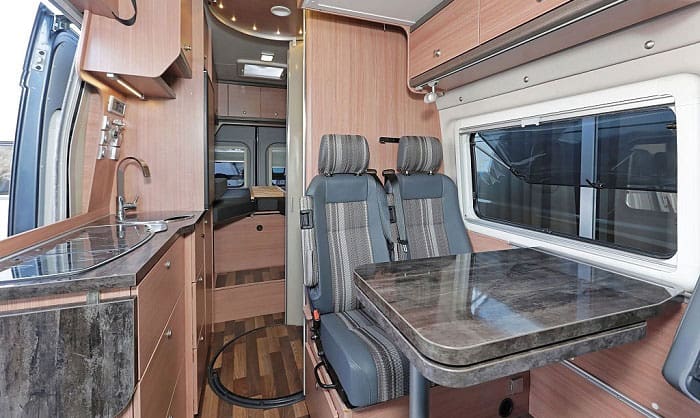
Cooking smoke and rainwater can ruin the decorative paper stuck on your RV walls. Moreover, age can deteriorate the look of wallpaper for motorhomes and travel trailers over time.
If no harm will befall upon wallpapers, the design and material can last about 15 years. However, that lifespan can shorten significantly because of the elements and other factors. The wallpaper might not even last a couple years if you are not careful.
In this section, you will learn the steps to find a matching wallpaper for your RV wall. You will also know the instructions on how to remove and stick the new wallpaper.
Step 1: Find a Wallpaper That Matches
Perhaps one of the best ways to find a matching wallpaper for a particular room in your camper or travel trailer is to consult the vehicle’s manufacturer. However, the maker might not be able to help you because of certain reasons, such as:
- The wallpaper design is no longer available.
- The manufacturer does not have the original wallpaper rolls in stock.
- The available wallpapers that the manufacturer has currently had different patterns
If you encounter these issues, you may have to consult other sources for the right design. Your search may take you to different offline and online home and RV retailers. Consider checking posts from other RV owners to help guide you in your search.
Additionally, you can also use specific keywords while doing an online search. For example, using keywords like Forest River RV wallpaper can help narrow down your search efforts.
If all else fails, you might need to prepare yourself to remove the current wallpaper design in your RV. That means taking out the wallpapers that were not ruined and putting in a new design.
Step 2: Test the New Wallpaper
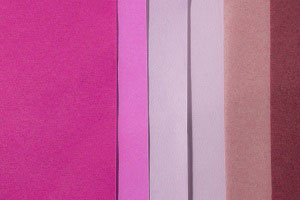
If you found a matching wallpaper for your RV bedroom, make sure that the pattern on the new roll matches the existing design. Understand that a typical wall cover will have a feature called a pattern repeat.
Unless your Vinyl wallpaper has a solid or a relatively straightforward appearance, a pattern repeat is a vertical distance or length between each repeating design element.
Measure the distance of the pattern from the old wallpaper to the new one. If the pattern repeat is more than an inch, the wallpaper roll you purchased might not be a good match for your camper’s current wall design.
If the distance is less than an inch, you may proceed with the next step.
Step 3: Remove the Old RV Wallpaper
Next, remove the old or damaged wallpaper from your RV wall. The trick here is to remain as patient as possible. Ripping the material off the wall quickly may botch the job, causing more work to be done than expected.
Here is a quick overview of the steps that you need to follow to remove the old wallpaper strip from your RV:
- Search for a fairly loose spot on the old RV wallpaper.
- Use an appropriate paint scraper to slowly remove the paper and its adhesive from the wall.
- If some spots need more effort to remove, you can loosen them by using a blow dryer or some warm water.
- Use a mixture of equal parts vinegar and water into a bottle to create a glue residue remover.
- Spray the solution on the wall and wipe it off with a clean cloth or sponge.
Step 4: Install the New Wallpaper
Before proceeding with this part of the project, make sure that the surface is dry and does not contain any sticky residue from the old wallpaper. After confirming that, here are the steps to install the new wallpaper onto your RV’s wall.
- Measure the length of the RV wall.
- Add an extra 2 inches to the measurement for it will serve as an allowance.
- Unroll the wallpaper on the floor or other flat surfaces.
- Use a pencil to mark a straight line on the unrolled wallpaper.
- Use a cutter or a pair of scissors to pre-cut the wallpaper panels.
- With your pencil, mark a straight line on the wall that should line up with the old design.
- Remove about 10 inches off of the adhesive backing on the new wallpaper.
- Grab your paint scraper or sponge to remove bubbles on the new wallpaper as you stick the paper onto the wall.
- Continue to peel the backing while using the paint scraper or sponge for the rest of the wallpaper.
- Trim the excess sites with the cutter.
- Repeat these steps as many times as required.
Additional Notes
Do not forget to align the new wallpaper lines well with the old papers. It is for this reason that it is important to test out your wallpaper before installing it. That way, you do not have to proceed with the installation if the designs do not match.
For example, your RV’s wall design is like a nature painting with trees, bushes, and forest animals. If the new wallpaper does not match the current wall design from your tests, you should think about other options on how to proceed with the task.
Moreover, consider other elements when matching the new and old wallpapers. Take a look at the color, saturation, brightness, and tone of the new paper. Make sure that these elements are perfectly the same or at least highly similar to the old wallpaper’s looks.
Conclusion
Did you enjoy reading this guide on how to match RV wallpaper? What are your thoughts about it? Leave a note in the comment section about your tips to hang wallpaper in your RV.
In summary, you can consult your RV’s manufacturer if they have the same wallpaper as the damaged unit. If it’s unavailable, consider searching for a matching wallpaper online.
Once you have the wallpaper, be careful in removing the old unit from your RV’s wall. Then, follow patience and due diligence as you install the new roll to avoid spending more time and effort than necessary.

Hi, I am Joseph. Carpe diem! Seize the day! That’s always been my life motto. If you haven’t seen some of the most beautiful places in the country, you are missing out on incredible adventures.