
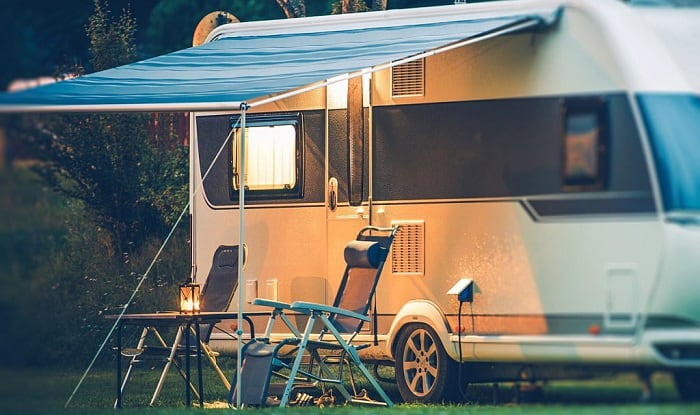
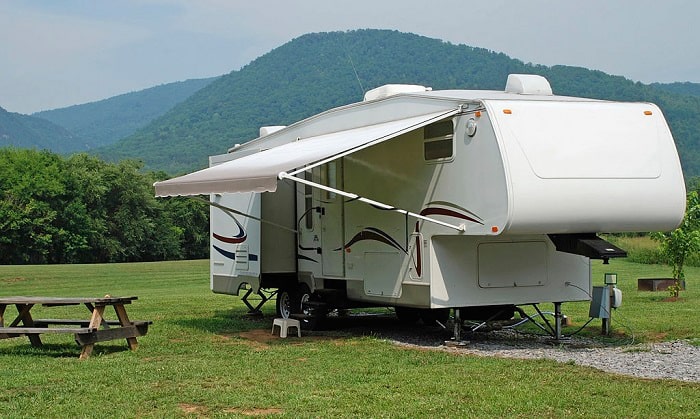
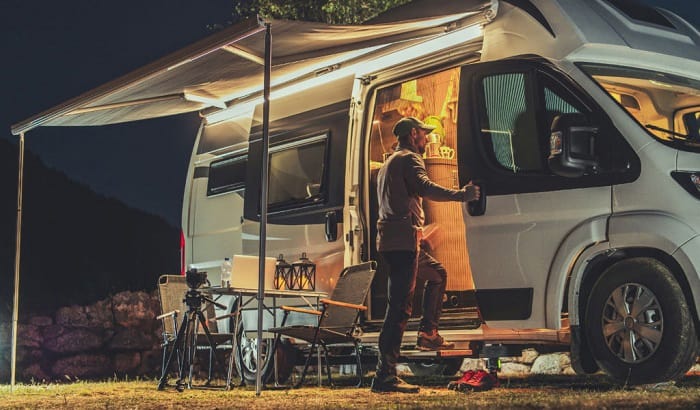
Going on adventures in your RV is super exciting. And when it’s time to park and enjoy a meal outdoors, it’s beneficial to have an awning to protect you from the bright sun. The good news is, you can easily bring out a temporary shade by installing an awning rail on your trailer. And the steps are quite seamless on how to install an RV awning rail.
Table of Contents
Tools Required to Install an RV Awning Rail
The installation of an awning rail on your trailer is a bit complex, but it is doable. All you need is a set of guidelines to perform your task safely. Plus, you need the necessary tools to install the rail for your RV awning. Let’s check out what tools to prepare before this task and gather them.
- Awning rail
- Rubber gloves
- Cleaning solution
- Rag cloth
- Electric drill
- Screwdrivers
- Self-tapping screws
- Cleaning solution
- Putty tape
- Ladder
More importantly, please note that you cannot install an awning rail all by yourself. Ask assistance from a friend to perform this project. Note that the accuracy of drilling holes and the need to align the rail are vital to this task.
Purchase an awning rail
Look for a suitable awning that fits your RV. There are many types of awnings in the market with various materials, color, and sizes. It is important to purchase a high quality awning that is extremely durable and long-lasting. More importantly, choose a product that is large enough to accommodate your usual crowd in RVing.
Take note that you can also opt for an awning kit. This includes everything you need to install the awning, with the exclusion of a rail. And you can find different awning kits in the market.
The awning product does not come with an extrusion rail, so you need to purchase one separately. It is important to buy the awning first so you can find the correct measurement of the required rail. Make sure to buy a super sturdy rail that will last for a long time. The rails usually come in black color, so there is not much of an option here.
Step by Step Instructions on Installing an Awning Rail to Your RV
Contrary to many beliefs, learning to install an RV awning rail is not that complicated. Keep in mind that a rail is required for an RV awning installation. And the placement of the rail determines how level your awning will be.
So let’s go ahead and check the step-by-step guide on attaching an awning rail to your camper.
Step #1: Locate the awning spot on your trailer
The first step in installing the awning of your RV is to find the best spot to install the awning rail. Choose the best place on your trailer where you want to have an awning. It could be on the side or the rear part of your recreational vehicle. The most important thing is the awning must not get in the way of your RV speakers, lights, door, vents, and others.
Step #2: Clean the surface
Before you start installing RV awning rail:
- Take the time to clean the surface first.
- Use a heavy-duty ladder to reach the top of the RV and use it for support while you work.
- Don’t forget to wear rubber gloves, though, to protect your hands from the elements.
It’s best to work on a clean surface, so use your cleaning solution to wipe off the awning spot. Apply your preferred cleaning product to the rag cloth and start cleaning the exterior of the RV.
Step #3: Drill pilot holes on the RV
Bring the awning rail back to its supposed location, and have your friend hold it in a level position. And then, you should mark the spots that align with the holes of the rail. The marks must be on the exact spot, so the drilling of holes is perfectly calculated and executed. Use an electric drill to create pilot holes for the installation of the extrusion rail for your awning.
Step #4: Check the drilling accuracy
After you drilled pilot holes on the accurate spots, clean out the residue from the drilling. Use a rag cloth to wipe off the surface, and you can also apply the cleaning solution again if you prefer.
And then check if the holes are in the right place by putting the awning rail where it belongs. See if the holes in the RV are aligned with the holes on the rail.
Step #5: Attach the awning rail on the trailer
With the help of a friend, place the extrusion rail in your chosen spot and make sure that the rail is evenly leveled. Utilize a few self-tapping screws to connect the rail to the RV through your screwdriver. However, do not lock the rail yet. Leave enough space to put putty tape at the back of the awning rail to avoid water absorption.
Step #6: Secure the rail
After you insert the putty tape, push the rail into the RV and secure it on both sides using the self-tapping screws, as well as in the middle. Triple check the straight line before you proceed to make sure that your awning is well-balanced.
Once you are sure that the awning rail is evenly level, insert more screws on the available holes at the arms’ top part. Use your screwdriver to ensure that the screws are bolted on tightly.
Step #7: Connect the awning to the rail
Once the awning rail is properly installed, it’s time to connect your awning. Follow the manual guidelines of attaching the awning to the rail, and then you can start enjoying a picnic anywhere and anytime you want. You can install a self-tapping screw to secure the track channel’s end, making sure the fabric does not bunch up due to wind. If you need more information on how to replace RV awning fabric, read this article.
Keep in mind that if you replace the awning in the future, you need to follow the dimension of the rail.
Conclusion
Now that you know the steps on how to install an RV awning rail, you are getting better at being an RVer. And you no longer need to worry about a little rain or glaring sunshine while you go on adventures. With a beautiful awning on your RV, life gets more fun and comfortable while on the road. So go ahead and start your awning installation project very soon.
We hope you like this post and share the experience with others to install a camper awning rail the right way. Also, feel free to leave your thoughts in the comment section below.

Hi, I am Joseph. Carpe diem! Seize the day! That’s always been my life motto. If you haven’t seen some of the most beautiful places in the country, you are missing out on incredible adventures.