
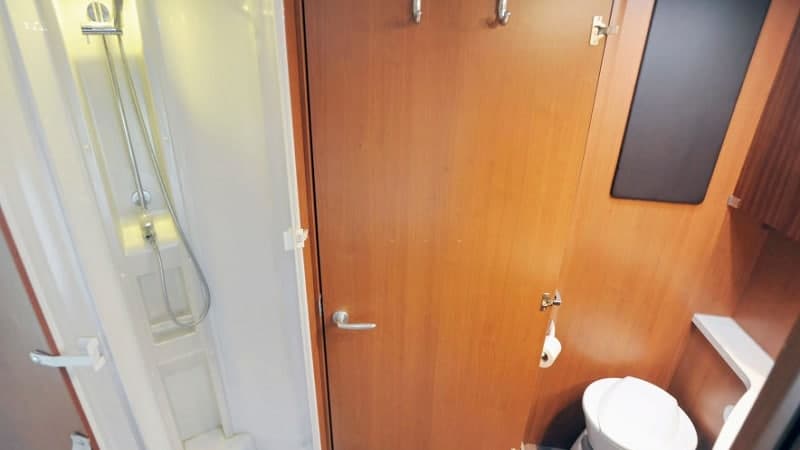
Waterproofing your RV shower walls is one of the life-saving tips in maintaining the health of your RV facilities. It keeps your walls from eventual degradation due to moisture absorption, such as cracking and rupture. More importantly, waterproofing helps you save you a lot of cash in the long run.
Follow the steps in this article, which are totally manageable, and save yourself from the hassle and price of making a shower modification at the end of the day.
Table of Contents
Items Needed

- Elastomeric waterproof coating – This will be the main material that will be applied unto the surface with waterproofing properties. A popular product used in the market is RedGard® that is also known to smoothen surfaces by filling cracks and dents.
- Roller – This material will be used to disperse the waterproof coating on the surfaces of interest.
- Brushes – Brushes are handy in applying a coating to nooks and spaces that are too narrow for the roller to cover. Different brush sizes are recommended to be secured for optimum application.
- Tray – A paint tray is useful to temporarily lay your coating on top for more uniform texture.
- Stick – This comes in handy in stirring the material to achieve conforming properties.
- Old newspapers/cloth – These materials serve as protection for floors, so they will not be tarnished undesirably.
Waterproofing Procedure
Preparation
1. Lay down used newspapers around the floors to carry out neat processes.
2. For tubs, you can cloak out used clothing to avoid coat sticking in case splattering takes place.
3. One can size should be enough for the whole process.
4. Open the lid of the waterproof coating can.
5. To ensure a uniform texture of the material, use a stick to stir the mixture around.
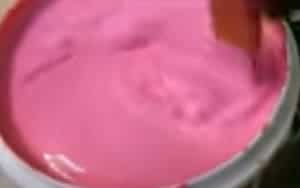
6. After stirring, pour a generous amount of coating unto the tray for easier acquisition of coating. Make sure splattering is avoided by careful pouring.

Application Process
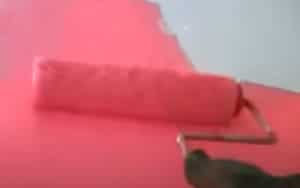
1. Get a clean roller and dip on the coating laid on the tray.
2. Apply coating on all surfaces using the roller.
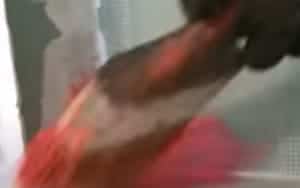
3. For difficult locations that cannot be reached by the roller, use a brush. Corners are more effective to be covered using a brush. Different sizes will be handy depending on the width of the space.
4. Refill the tray with coating as necessary.
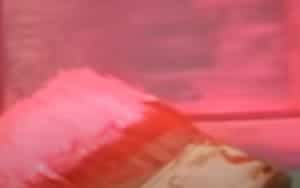
5. The initial application of the first layer should look like this. You need to worry about the uneven application as a supplementary coating will follow.
6. Allow the first layer to dry first for about 30 minutes to about an hour.
7. Apply the second layer on the coated surface and make sure to evenly spread out the coating. Make sure all surfaces are covered
8. Allow considerable time to dry up the surfaces.
9. Test the coated surface by pouring water unto them and check if there is the adherence of water.
10. Clean up space. Remove the improvised covers on the floor and tub.
11. Clean the materials used in the process.
Other Waterproofing Options
Coating is the easiest way to waterproof your shower walls. Other options include installing a shower surround which can either be prefabricated at your own comfort or can be carried out on your own. For more information about creating a shower surround, you can further read on this link by RVShare for more details.
RV roof leak is an issue you should also take care of. Read our article on how to repair RV roof leak. We have also compiled a list of reliable RV roof sealants for your reference.
Other customization techniques are also relayed in this video by Sara & Alex James, for a step-by-step mounting and installment of a surround and applying to coat, thereafter.
Conclusion
Shower walls are susceptible to degradation due to moisture attack. This manifestation can result in cracking and rupture of the wall components. Although shower walls are water-resistant, it is important to be proactive in reinforcing the walls with further waterproofing strength.
The last thing you want to experience as an RV owner is to spend much time fixing your facilities which entail high costs as well. Doing your bathroom a favor by waterproofing its walls is a guaranteed life-saver for those owners who want to skip the hassle and costs of getting a new shower unit. The easiest procedure is coating the walls, while you can explore other options such as customizing a shower surround and other reinforcements.

Hi, I am Tom Hank, an RV-er since 2014. Back then, I started without much help. As you can imagine, the struggles are endless. But now, you do not have to begin your adventures knowing next to nothing about RV lives.