
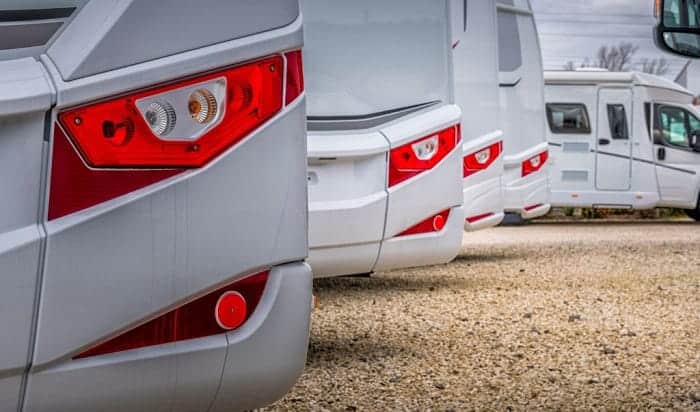
Recreational Vehicle is a vehicle that includes accommodative features. Its main usage is to aid people with their travels, but others use it as their permanent residence. Just like any other vehicle, Recreational Vehicles require constant maintenance, especially with parts that are always used and are often exposed to damaging factors.
One of these parts is the tail light. Most Recreational Vehicle owners instantly seek the help of professionals when they have to replace their vehicles’ tail lights, but others prefer to do it themselves since the proper installment of this part is achievable with proper guidelines.
Table of Contents
Things to Know And Prepare
Do you want to replace your Recreational Vehicle’s tail lights without the hustle of bringing it to a shop and with fewer expenses? If so, this article will serve as your guideline.
Equipment needed:
- Work Gloves – This will help avoid injuries that may be inflected to your hands.
- Tail Lights – These new tail lights will serve as a replacement for the damaged and/or old ones.
- Socket Wrench – This tool aids in removing and reinstalling nuts and bolts.
- Ratchet Wrench – This will help you fasten or loosen the bolts needed in the replacement of tail lights.
- Screw Driver – This helps remove and install screws needed in this project.
- Trim Remover – This will help you remove the trim panel around the taillights.
After collecting the things needed in this project, we will now proceed with the step-by-step replacement of the taillights.
Instructions
Step 1: Disconnecting the batteries
The first thing you need to do is to disconnect the recreational vehicle’s battery. This is to avoid getting yourself electrically shocked. In order to do this, do the following steps:
- Turn off the ignition
- Find and remove the terminals of your recreational vehicle’s battery. You should remove the negative terminal before the positive one.
Step 2: Accessing the rear of the taillights and removal of parts
Open the tailgate of your recreational vehicle, and remove the mats, carpets or spare tire, if you have any, that’s on the way.
If you’re still unable to gain clear access to the rear of your recreational vehicle’s tail lights after, you need to remove the trim panel of your recreational vehicle with the use of your screwdriver or your trim removal tool. Be careful in removing plastic connectors or tabs, if there are any since these parts can be very brittle.
Behind the lamp assembly, locate the bulb holders and remove it by rotating it counterclockwise. After this, remove the defective bulbs.
Step 3: Replacing the bulb
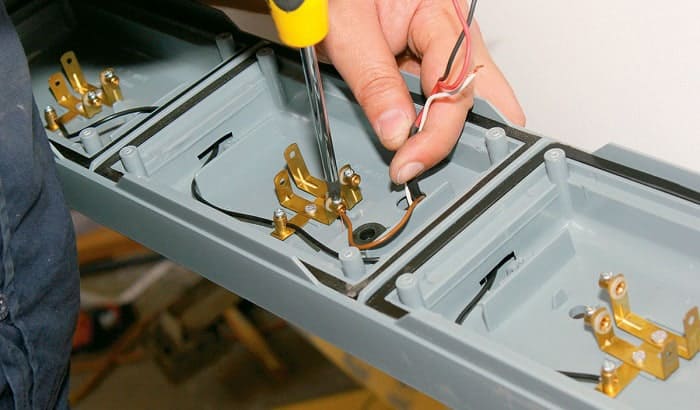
Take a new bulb and place it on the holder, and press the bulb into it. It’s important to wear gloves while doing this since bare hands can shorten the bulb’s life. You can also apply bulb grease in order to prevent moisture and corrosion.
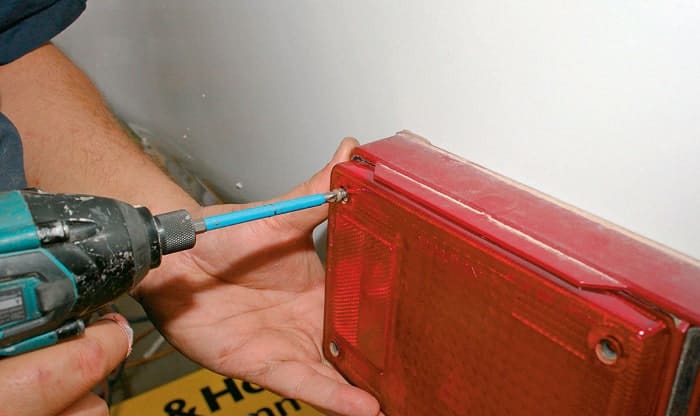
Step 4: Installing the new tail light assembly
Find the nuts that attach the tail light to the recreational vehicle’s body. These details may require a spray of penetrating oil since these parts are more exposed to damaging factors such as the weather. After locating them, use a compatible socket wrench for their removal. The removal of these parts allows the tail light assembly to be removed.
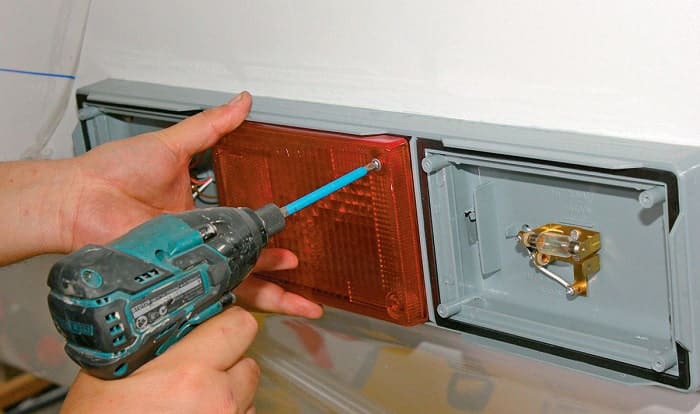
Place the new tail light assembly in its location, and tighten bolts around it using a ratchet wrench to steady it. Avoid over-tightening the bolts, for that will damage the tail light’s plastic housing.
Step 5: Reattachment

Reattach the bulb holders simply by putting it into its place and rotating it clockwise. Reattach trim panel using the same tools you used in removing it; return the mats, carpets, and/or spare tires in their places and close the tailgate. Reconnect the recreational vehicle’s battery, and check if the tail light’s bulbs function properly.
If you bought the correct parts needed for the replacement and followed these instructions correctly, the new tail lights will surely function.
Final Word
The expenses of a recreational vehicle will not end after buying it since its maintenance costs money too. It’s understandable that owners should prepare money in order for your RV to stay in good condition, but it’s better if the money to be spent on its maintenance is not a lot.
Consulting a professional from time to time is good, but learning and practicing to take care of your vehicle on your own is better. If you have other concern that was unanswered by this article, feel free to express it on the comment section below.

Hi, I am Tom Hank, an RV-er since 2014. Back then, I started without much help. As you can imagine, the struggles are endless. But now, you do not have to begin your adventures knowing next to nothing about RV lives.