
Every RV is equipped with a 12-volt pump to power up the water system. However, if the water pump of your RV is not functioning well, you’ll face a huge water problem. That’s why it’s crucial to prime the water pump. This task must be done after your camper has been on standby if the rig is new or after every six months.
Priming is an act of flushing water back into the pump. This is to trigger pressure to keep the water pump working smoothly. The good news is, the steps on how to prime RV water pump are quite easy.
Table of Contents
Materials Required to Prime RV Water Pump in RV
The task of priming the water pump of your RV is not complex at all. With simple and probably materials, you can proceed with this job without a hitch. And you can perform this task alone, or you can ask for assistance from a friend.
- 355 ml or 12 ounces of clean water
- Small cleaning brush
- Rubber hose
- 355 ml or 12 ounces water container
- Flathead screwdriver
Take note that the size of the sturdy rubber hose must be the same as the size of the RV water line hose. And choose a long rubber hose for convenience.
Step by Step Instructions on How to Prime Water Pump in RV
The steps to prime RV water pump are detailed in this post. Following the simple instructions allows you to save money for a professional job. Plus, once you learn how priming works, you can do the same process next time from memory.
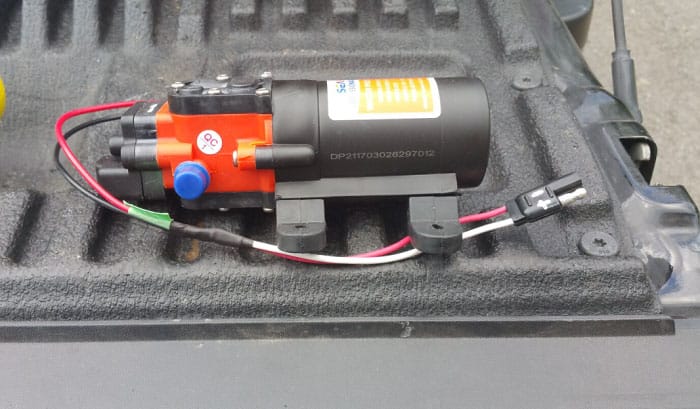
Step #1: Locate water pump
If you are a new RVer or have never dealt with priming a water tank before, you need to find the pump. Consult the owner’s manual to find the water pump in the RV. Check if there are special instructions on using the water pump or rules on priming.
As a general rule, the water pump of the camper is near the water tank. Simply follow the direction of the waterline since it leads to the RV’s water pump. Most of the time, it is located under the kitchen sink, bench chair, or cabinet.
Step #2: Clean the water pump (optional)
Cleaning the water pump before priming RV water pump is important.
First, turn off the water system and the water pump, open all faucets and showers to drain all remaining water.
Second, detach the incoming water line using a flathead screwdriver and disconnect the trap and screen. And the third step is to utilize a small, sturdy brush for cleaning.
After the cleaning is done, return the trap and screen to their original position. But leave the water outlet disconnected from the water pump.
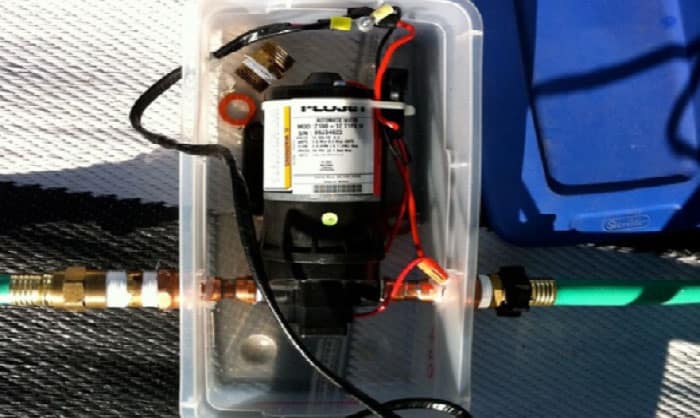
Step #3: Disconnect outlet water line
Disconnect the clear plastic water outlet using a flathead screwdriver from the water pump. This outlet connects the water pump to the toilets, shower, and sinks.
And then, following the counterclockwise motion, unscrew the collar of the water pump. Continue turning the collar until the hose can be pulled off.
Step #4: Link hose collar to rubber hose
The next step is to attach the hose collar from the primary water outlet line to the clean rubber hose. As mentioned in the Materials Needed section, the hose must have similar size as the RV waterline hose or else the camper water pump wont prime. And then connect the hose to the water pump of your RV. Screw the clamp properly and securely.
Take note that the reliable rubber hose must be approved for safe drinking water.
Step #5: Pour clean water into the water pump
The next step is to elevate the attached rubber hose, so it is above the water pump. And then start pouring in the 12 ounces of clean water into the required rubber hose. Use your thumb to cover the end of the hose after the water is in.
And then turn the camper’s water pump on until you can feel the water pressure.
It usually takes a minute for this process to complete. And the most telling sign of its success is when you feel that the water makes contact with your thumb, and you can feel the pressure.
Step #6: Reconnect the water pump and waterline
Once the priming process is completed, turn off the water pump. Open the clamp carefully and detach the required rubber hose from the water pump.
And then reattach the outlet water line using a flathead screwdriver to the camper’s water pump. Make sure that the connection is tight and secure.
Step #7: Test the water pump
If you have followed the steps to the letter, then there’s no reason why the RV water pump wont prime. And now that the RV waterline connection is back, it’s time to test the water pump. Turn the pump on.
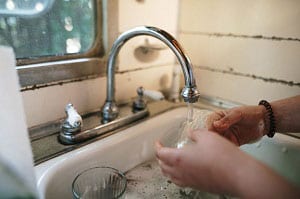
Open all your faucets, shower, and leave the water running for about two minutes. Flush your toilets as well. If the water flow is good, then the water pressure is functioning well.
Tips on Priming the Water Pump of an RV
The process of priming the water pump of your camper is easy. And you can use some valuable tips on priming.
- Use a rubber hose that is clean and safe for drinking water. It’s best to buy a new long hose for this task for hygiene purposes.
- Pour one gallon of clean water to ensure that there is zero air trapped in the water pump.
- If you have used antifreeze, allow the water to run in all your faucets and shower for over ten minutes. Or drain your full water tank to remove all the antifreeze.
Conclusion
Priming the water pump of your camper is essential to the smooth function of your water system. And now that you have full knowledge on how to prime RV water pump, you can easily perform this project on your own.
Remember that priming must be done every six months for an all-year-round RV usage. And you need to prime your camper after a long non-usage, especially if you have used antifreeze on your water system.
Kindly share this post to help spread the easy steps on priming a water pump. And feel free to tell us what you think.

Hi, I am Joseph. Carpe diem! Seize the day! That’s always been my life motto. If you haven’t seen some of the most beautiful places in the country, you are missing out on incredible adventures.