
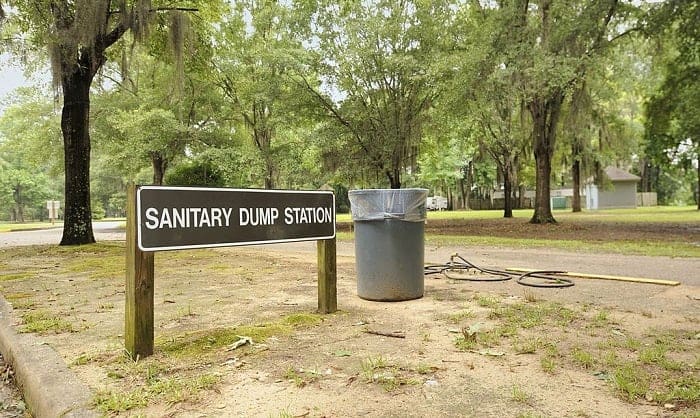
As an RV camper, you already know that having an RV dump station is more than a want as it is a need. You can even build one when you park your motorhome or travel trailer at home. But it still begs the question, how to build an RV dump station?
Take note that building the ideal RV dump station at home means going through a series of steps. Researching, planning, preparing, and building the dump station all play vital roles in finishing this project.
Thankfully, you are at the right place as I guide you through those steps to help you make an RV dump station.
Table of Contents
What You’ll Need
Make sure that you have time to spare when building an RV dump station. It is because the entire project can be time-consuming, even when you prepare the correct materials and tools.
Also, you must take note of the engineering and legal requirements for the upcoming build. The last thing that you want is to get in trouble with the law or create home RV dump station plans that do not fit your current setup.
With that out of the way, here are the things that you need to have to build an RV dump station.
- Concrete pad: You should always consult the local government to check the appropriate dimensions for the concrete pad.
For example, the state of Illinois suggests that RVers have a sloped concrete pad with at least an inch per 10-foot to a nearby drain. Additionally, the pad should be extended at least 2 feet in every direction when measuring from the drain.
Finally, Illinois state law tells rig owners to have their concrete pads have a height of at least 2 inches and a foot-operated mechanism for the self-closing cap.
- Self-closing cap: As its name implies, the self-closing cap will close the flow of wastewater from your RV as soon as you release your foot from the concrete pad.
But the market has a broad range of self-closing caps, which can make it more challenging than usual to pick the right model. Choose a cap that is odorless, easy to install, cost-efficient, and built to last.
Also, make sure that the cap fits the required dimensions for your home RV dump station design.
- Flushing water access: The dump station should be in a location where you or other users do not have to travel far or use a long hose to gain access to clean wastewater tanks.
As you build or install your flushing water access, make sure to put a sign that says something like, ‘Not Safe for Human or Animal Consumption,’ or ‘Only Use for Flushing and Cleaning Purposes.’
- Service access: Do not forget to add multiple points of entry to your dump station, especially if you are making an RV park sewer system design or RV septic system design.
People should enter the area of your dump station from different locations. That way, service folks, such as those that need access to nearby manhole covers, will not be deterred from their jobs.
Also, make sure that the RV dump station lid is water-tight and secure but still accessible.
- Fluid control: You need a mechanism that will allow the removal of waste from the sewer system on command. Such removal also cannot affect the integrity of the cap.
Capping the sections where wastewater flows is vital to protect the environment without inhibiting service access.
You can find different configurations and designs for fluid control and sewer or well plugs on the market. However, pick the compatible models suited for your specific RV dump station.
Take note that this list of things you need to acquire for your RV dump station is not exhaustive. You may need to gather other tools, such as screwdrivers and wrenches, depending on the specific demands of the project.
Step-by-Step Instructions
Now that you have the necessary RV dump station equipment for the project, it is time to build your RV dump station.
Take note that there are fairly common ways to build a dump station for RVs: connecting to a city sewer grid or building a dumping station into a septic tank. In this section, you will learn about how to achieve both methods.
Step 1: Connecting an RV Dump Station into the City Sewer Grid
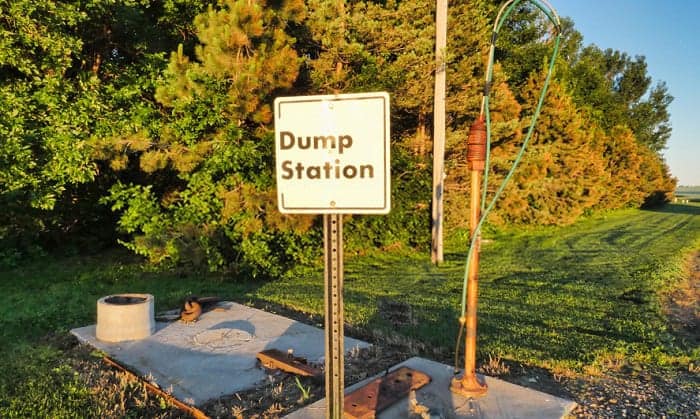
In some cases, certain households have connections to the municipal sewer system. If so, you should find at least one cleanout, which is a short pipe that connects to the main sewer line.
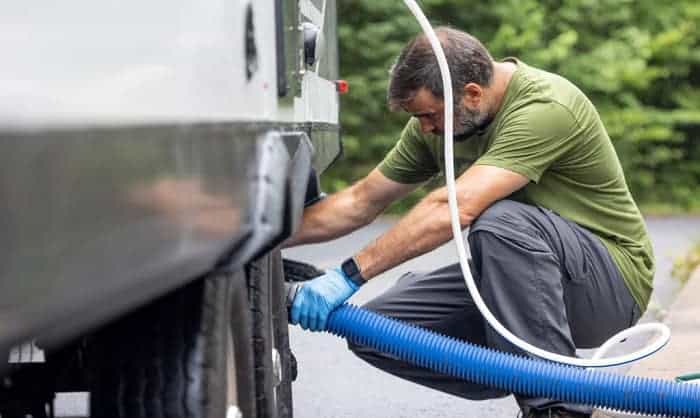
The cleanout pipe should have a screw cap that plumbers use to inspect for blockages. You can park your RV next to the cleanout pipe so you can attach a wastewater hose.
At that point, you only need to insert the output portion of the hose into your rig’s wastewater tank. Then, connect the other end to the cleanout tank. Turn on the macerator pump and your RV wastewater tank should start emptying itself.
Step 2: Building an RV Dump Station into a Residential Septic Tank
If you do not have access to the city sewer grid, you can build an RV dump station that connects to your property’s septic system. Here are the steps to follow to go through and accomplish this project.
Step 3: Make the Cleanout Pipe Accessible
In some cases, the septic tank’s cleanout pipe can be out of reach. If so, put an input pipe, such as a PVC pipe or wastewater hose, in between your residence and the septic tank.
The pipe in between the two should help prevent backflow. Also, make sure that the pipe you use has an excellent build quality and is devoid of cracks. Otherwise, wastewater can leak, which can cause significant messes.
However, if the cleanout pipe connected to the residential septic tank is accessible, you only need to insert an output hose to it directly. Attach the self-closing cap to the end of the hose or pipe where the wastewater will flow out and into the disposal system.
You can also put the output hose into the septic tank. However, make sure that the tube is about several feet underwater. That way, it prevents splashing, which would otherwise make solids fly out of the septic tank and create a mess.
Now, you have an RV dump station can but you cannot empty the waster from the RV toilet holding tank. Maybe your sewer is clogged. Check the article on How to Keep RV Sewer Hose from Freezing, and how to unclog an RV toilet holding tank for how to fix it.
Conclusion
Did you enjoy this guide on how to build an RV dump station? If so, what do you think about it, and did it help you with planning your RV wastewater dumping station? Leave a comment about your thoughts.
Remember to acquire the necessary items before you build the dump station. Make sure that you already have things like the self-closing cap before you start. Also, choose the right steps that fit your current setup.
Finally, do not forget to share this post with others that may need some help with their RV dump station development projects.

Hi, I am Tom Hank, an RV-er since 2014. Back then, I started without much help. As you can imagine, the struggles are endless. But now, you do not have to begin your adventures knowing next to nothing about RV lives.