
RVs are great as they give you the freedom to travel while still having the comfort of home with you. However, like with anything, constant use will inevitably lead to issues and one of the most common issues with RVs is leaking windows.

This is why it’s important to seal your RV windows as leaks will result in molds and other issues that aren’t just unsightly but they can also be extremely harmful to your health.
The good news is you can seal your RV windows yourself. With this easy-to-follow article, you can learn how to seal RV windows without needing to call a professional. Check out the steps below.
Table of Contents
What You Will Need for This Tutorial
Before starting, you need to gather all your tools and supplies. That way, you can focus on following the steps. To successfully follow this tutorial, you will need the following:
- Ladder
- Clean sponges
- Razorblade
- Flexible silicone sealer
- Petroleum jelly
- Masking tape
- Caulking gun
How to Seal RV Windows
Now that you have gathered all you need to seal your RV windows, you can now move on to following the next steps.
1. Locate the source of the leak.
Before you seal your windows, you first need to identify where the leak is. This will prevent you from engaging in a time-consuming task of replacing all the caulk – an unnecessary task if the rest of it is still intact.
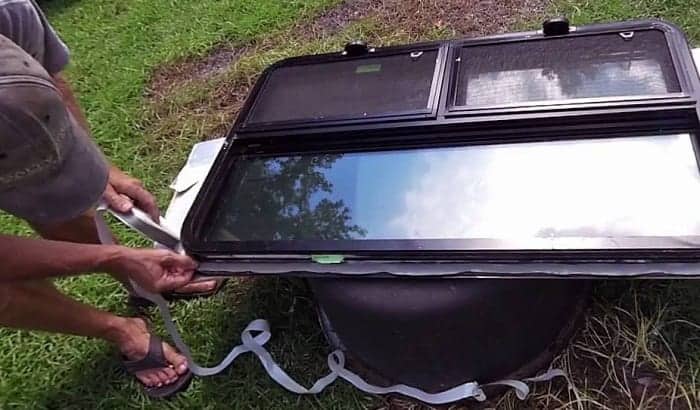
2. Remove the old caulking around the leak.
After locating the leak, you now need to remove the old caulking around the leak using a razor blade. Be careful when doing so to avoid cutting yourself, scratching the glass and the surrounding siding.
3. Clean the exterior of the window frame.
Once you have removed the old caulking, you should now clean the outside of the window frame thoroughly. This is vital as the cleaner your area is, the better the caulking will adhere to it. Use the sponges and a safe and high-quality cleaner.
You can also use this time to wash the windows as well. To reach everything, you can use the ladder. This will be especially useful if you need to reach the upper areas.
4. Place masking tape on the other areas.
To avoid the caulking adhering to everything, you can put some masking tape on the areas you don’t want it to stick to. Aside from ensuring it doesn’t stick to those areas, this will also make the cleaning up process afterward easier and less of a hassle.
5. Open the silicone sealer by cutting a hole into the tip.
Use a nail or screwdriver to puncture a hole into the tube of sealer.
6. Insert the tube into the caulking gun.
After opening the tube, you should now insert it into the caulking gun to begin the process of sealing your RV windows.
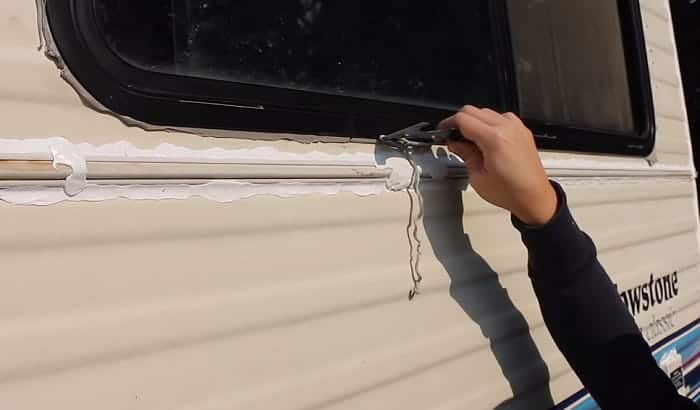
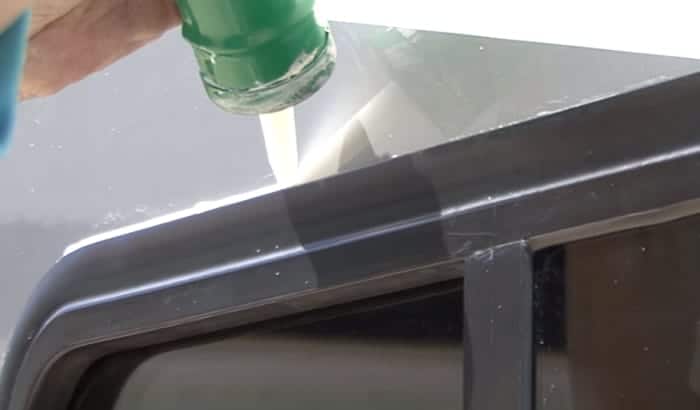
7. Seal your RV windows.
To seal your windows, apply a bead of caulking around the window edge, paying closer attention to the location of the leak. Once you have applied all the caulking, apply some petroleum jelly to your finger.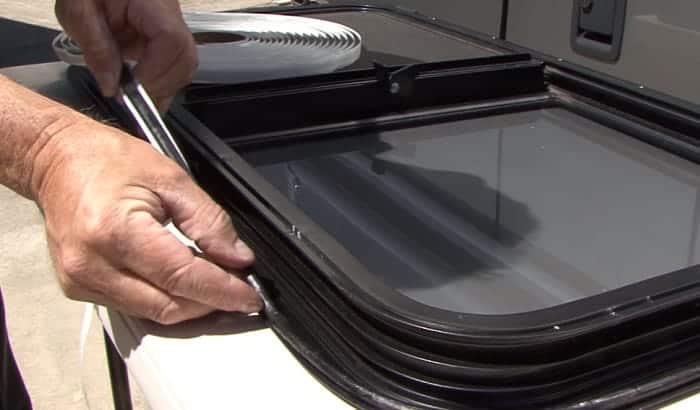
This will keep the sealant from sticking to your skin. After this, work the caulking into the area by running your finger along with the bead of caulking.
8. Wait for it to dry before removing the tape.
Before you remove the masking tape, allow the newly applied caulking to dry for at least 24 hours. By doing so, you ensure that it has thoroughly adhered to the surface and this will reduce the chances of it being ripped away along with the tape. This is also the reason why it’s better to use masking tape than duct tape as duct tape adheres more strongly and can ruin your new caulking.
Remember to do these during sunny days as the sunlight and heat will help the drying process become faster and allow the caulking to adhere properly to the surface.
Final Thoughts
Leaking windows can be a huge problem for RV owners like us because it can cause rotting and harmful mold to accumulate and this can result in harmful respiratory illnesses. This is why we must learn how to seal RV windows.
With that said, I hope you found this short tutorial useful for sealing your RV windows. If so, please feel free to share with your family and friends and let me know what you think in the comments.

Hi, I am Tom Hank, an RV-er since 2014. Back then, I started without much help. As you can imagine, the struggles are endless. But now, you do not have to begin your adventures knowing next to nothing about RV lives.